The top is together and it took longer than you would think. I am happy with the way it turned out. The colors are much brighter in real life.
After all the blocks were made I laid them out on the floor to see how they would go together. From there I added all the strips and pieces in between to make it into a top. This is a much better picture as far as the colors go.
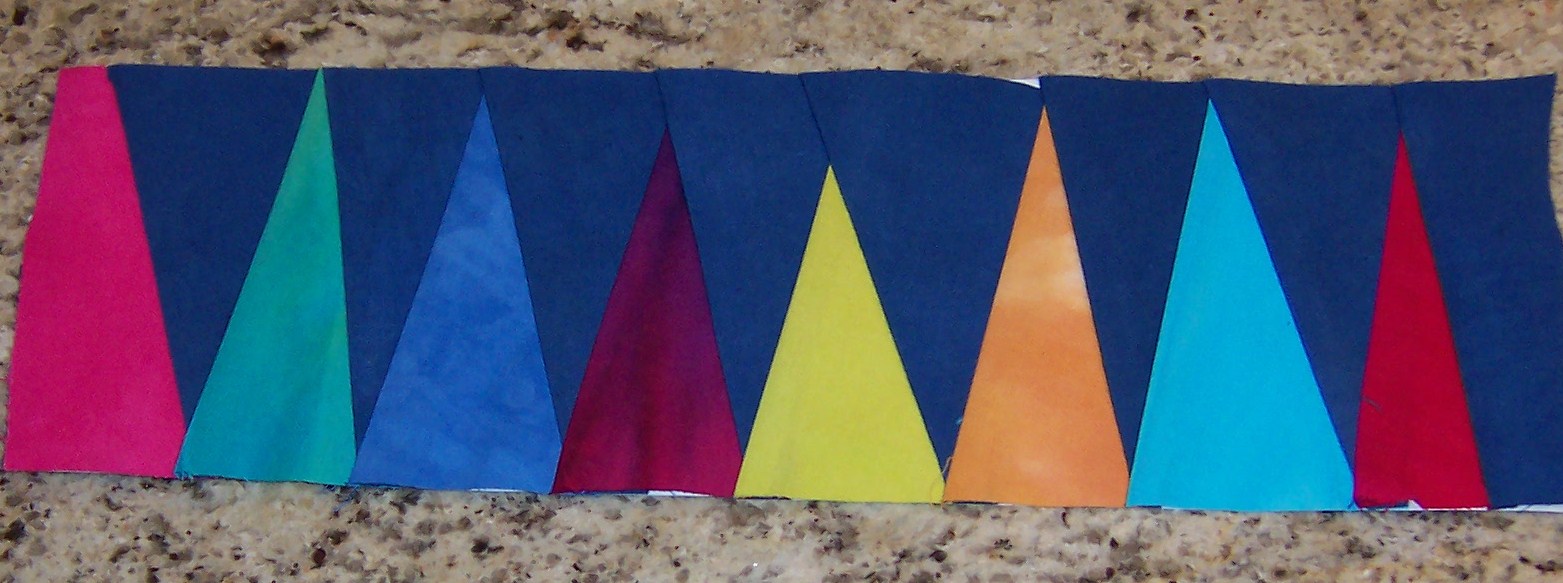
I think I am going to paper piece the border. This is my design, again very organic and not real planned, a little off kilter!
Here is what I have so far and I think I will use it but not 100% sure yet.
As I was paging through an old Connecting Threads catalogue I came across this page. I think it would make a nice quilt!
Kelly
KNOWLEDGE IS POWER, BUT IT DOESN'T MAKE MY BLOW DRYER RUN!
Showing posts with label blue basket. Show all posts
Tuesday, November 9, 2010
Saturday, November 6, 2010
Saturday Stuff
I had a few people email me to ask how I was attaching my basket handle to my blocks. First I just free hand cut the handle making sure it fit the space. If it doesn't no big deal just chop off the bottom ends to fit.
Next I used my iron to press my 1/4 inch seam allowance (making sure to clip the curves first). I prepared it just as if you are doing needle turn applique.
I put it on the background making sure I like where it was placed in relation to the basket. Now for the best part, I did not use one pin. I just held it in place and started on the inside curve first, using a small zig zag stitch. If it was a little off so much the better. The sititch width on my Bernina was 2.
Next I did the outside edge again no pins. It is real important to do the inside edge first or it will not lay flat. I also used matching threads.
After it is sewn on be sure to press it nice and flat.
Sew it to the basket and there you go!
This is what I am left with....another mess. All 9 blocks are made and I am hoping to get these blocks together on Monday to show you how I am going to set them. I have an idea for the border but am not sure if it will work or not, we will see.
Kelly
Next I used my iron to press my 1/4 inch seam allowance (making sure to clip the curves first). I prepared it just as if you are doing needle turn applique.
I put it on the background making sure I like where it was placed in relation to the basket. Now for the best part, I did not use one pin. I just held it in place and started on the inside curve first, using a small zig zag stitch. If it was a little off so much the better. The sititch width on my Bernina was 2.
Next I did the outside edge again no pins. It is real important to do the inside edge first or it will not lay flat. I also used matching threads.
Sew it to the basket and there you go!
This is what I am left with....another mess. All 9 blocks are made and I am hoping to get these blocks together on Monday to show you how I am going to set them. I have an idea for the border but am not sure if it will work or not, we will see.
Kelly
Thursday, November 4, 2010
Miscellaneous
I think this looks a little Amish as far as the colors go, but a little more free form. I ironed the seam allowance of the handle under and then did a little zig zag stitch around the edges. Never did that before but I think it fits the style of the block. The best part was it did not matter if the 1/4 inch was perfectly pressed! I like that. The handle is a little more off than what I was planning but I am going to let it go for now.
NO, I am not growing pot in the backyard! I have a tarragon plant that did wonderful this year and I wanted to save some before the frost got it. The first time I tried to dry it I just cut a bunch and hung it up to dry. All it did was turn brown.....tarragon is green in those little jars that cost $5.99. So if you want to do this just cut your stems and then pull off all the little leaves (this does take a some time) chop them up small and lay them on a cotton towel in a cool darkish area. In about 5 days to a week they will be dry and green!
This is another cool thing I love. It is an egg timer that I bought at Crate and Barrel and I think it only cost $3.99, probably the only thing in the store at that price....
Just put it in the pan with your eggs and water (turn on the stove) then watch as it turns color. You can see the little light colored circle in the center.
Here is what it looks like right out of the pan. As you can see you can do different types of cooked eggs. Yes I know you can also use a timer but with this one I never get that little greenish grey stuff around the yolk.
Now you can take your hard boiled eggs and tarragon and make your self an egg salad sandwich!
Thinking of my brother Duffy today, 11/4/71 - 8/14/10.
Kelly
NO, I am not growing pot in the backyard! I have a tarragon plant that did wonderful this year and I wanted to save some before the frost got it. The first time I tried to dry it I just cut a bunch and hung it up to dry. All it did was turn brown.....tarragon is green in those little jars that cost $5.99. So if you want to do this just cut your stems and then pull off all the little leaves (this does take a some time) chop them up small and lay them on a cotton towel in a cool darkish area. In about 5 days to a week they will be dry and green!
This is another cool thing I love. It is an egg timer that I bought at Crate and Barrel and I think it only cost $3.99, probably the only thing in the store at that price....
Just put it in the pan with your eggs and water (turn on the stove) then watch as it turns color. You can see the little light colored circle in the center.
Here is what it looks like right out of the pan. As you can see you can do different types of cooked eggs. Yes I know you can also use a timer but with this one I never get that little greenish grey stuff around the yolk.
Now you can take your hard boiled eggs and tarragon and make your self an egg salad sandwich!
Thinking of my brother Duffy today, 11/4/71 - 8/14/10.
Kelly
Subscribe to:
Posts (Atom)