

Pillowcases are a fun, easy summer project.

Make 1 or 100!

You can make them with a friend,

a beginner sewer,

even a child!

I made some for all of my grandchildren, except Brynn who is not allowed to have a pillow-yet.

I am also making some for our guild charity project. This tutorial is for anyone wanting a quick, fun project.
I am just going to throw this out there.......if you want to make one for a child in the hospital I would be happy to have you send me one. We are collecting them at the September meeting and looking to have a bunch! Just email me at kellymx@aol.com for details.
This is a super duper easy one!
Main body fabric 3/4 of a yard. I did use flannel for 2 of them, but it just made it by the skin of it's teeth. You must wash it first because it shrinks a lot! I am suggesting good quality quilting cotton in a fun print.
Cuff fabric 1/3 of a yard in a co-ordinating print, this is a good way to use up some of your smaller yardage.

From the cuff fabric trim 10" wide, the selvadge is at the top, fold at the bottom.

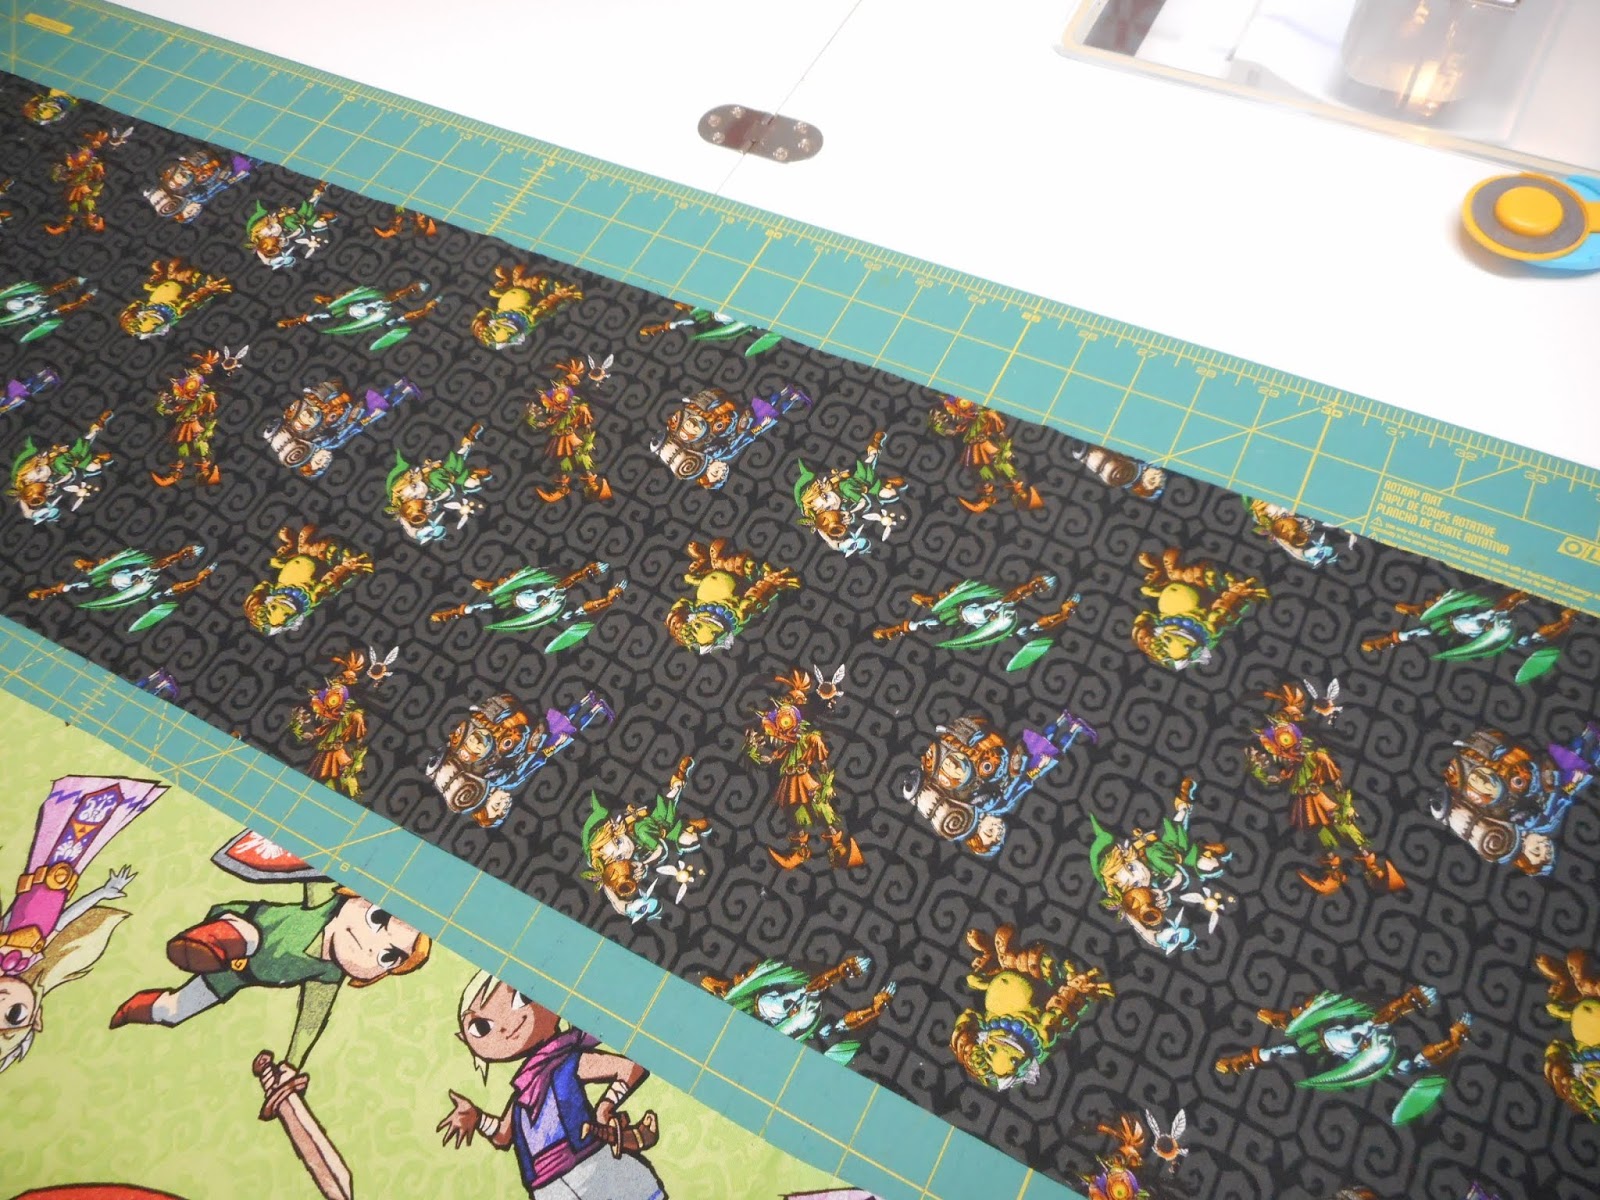
Trim the edges to measure 41"

For the main body of the pillow case trim to ends to measure 41" again the selvadge is at the top

Trim the sides so it measures 27" wide
Lay the cuff right side up on your table

Lay the body of the fabric on top of the cuff also right side up matching edges

Roll the body of the pillowcase up as shown above

As you can see there is the cuff fabric on the bottom, the body fabric in the middle and I am enclosing it all with the bottom of the cuff fabric, pin well

Sew this altogether using a 1/4" making sure not to get the body of the pillow case in the seam allowance. Now you see why they call it the hot dog or taco method.

Pull the body out of the end of the cuff

It will look like this. The edges of the cuff are completely encase to prevent fraying.

Lay the pillowcase on your table WRONG sides together. YES Wrong sides together. Say it again, wrong sides together......

Sew with a scant 1/4", I do it more than a scant to make sure those edges will be hidden.

Once you have sewn it all around, (wrong sides together) turn it so the RIGHT sides are now together, press and sew all around with a 3/8"seam allowance. This is called a French seam and it keeps all those raw edges hidden and looks nice and neat.

This is called The Purple Thang and it is a great tool to poke out those corners. Be sure to do it gently so you don't poke a hole in your pillowcase.

Press it and you are done! I have timed myself and was able to sew one in 15 minutes. These directions are all over the internet and I do not know who started them or I would give them credit. I think they would be happy to know these are going to charity!
Let me know if you have any questions or if you are interested in sending me some pillowcases!
Kelly


