KNOWLEDGE IS POWER, BUT IT DOESN'T MAKE MY BLOW DRYER RUN!
Showing posts with label Colin and Jenny. Show all posts

Monday, June 29, 2015

Babies' Shower


Today I can finally show you the baby shower gifts for my daughter in law Jenny who is expecting twins real soon. These are the 2 quilts that I was working on and searching all over heaven and earth for the polka dot fabric. In the end the blue print I chose worked out well, I may even like it better.
Both quilts are pretty much the same in that they are the same fabrics and colors, the fabric placement is random. The doctors call them "Baby A and Baby B". I machine quilted  Baby A into one quilt and Baby B into the other. Once they are born and we know their names I will add a label.


I picked out the pattern "Irish Chain" because both sides of the family are Irish and I knew Colin and Jenny would both love the idea.


There are also some bibs and I have to say it was fun looking for little boy fabric. It is so much cuter than when I had my boys.


I picked this fabric out specifically for my son Colin who hikes the AT.


The theme of the shower was "Bees" and I was so excited to find these little Onesies when we were in Florida.


My daughter and I each bought a sweet toy bee from Rachael at The Faded Wildflower. She handmakes each one. Notice the little bowties, blue and green, that way they each know which toy is their own. Aren't they cute?


My son Colin painted these pictures for the nursery. I think they will look so cute and how cool that their daddy painted them for the little boys. I am getting teary now......


Colin also painted these trees for the shower. Each person put a fingerprint on each tree and they will hang in the nursery to remember all the people who will love them.


The tables were also bee themed which added to the fun of the day even though it was pouring rain outside. The flowers were Jenny's favorite, daisies with yellow tea roses and little bees flying around. Her mom, Bonnie and sister, Stacy did such a wonderful job with lovely details that made it extra special.


Jenny's mom asked me to make mug rugs and I was happy to do it! They were given out with a little stick of Burt's Bees lip balm as a favor for all the guests.


The food was yummy and the red velvet cupcakes were my favorite!


All in all it was a good day and Jenny is really glowing with maternal love! They are both going to be such good parents and the entire family cannot wait to meet our newest little boys!

Kelly

Monday, August 25, 2014

Vintage Bowties Tutorial


Part of the fun of going away on a sewing retreat is that there is a lot of time to sew! I am not good about following directions or cutting in a group situation, so I try to pre-cut all my fabric and I can start sewing as soon as possible.
The fabrics shown are 9 of my favorite vintage fabrics. Most of them were bought in 5" squares or charm square size so I had to be careful cutting them, there was no room for error.
I thought I would give you the measurements in case you wanted to make one for yourself. They are super easy and would use up a good bit of your scrap basket.

These directions make one unfinished block, that measures 4 1/2"
Print fabric cut 2 @ 2 1/2" squares
                  cut 2 @ 1 3/4" squares

Background fabric cut 2 @ 2 1/2" squares


2 1/2" background squares
My vintage fabrics are in the mid to light values. I am using a lot of different backgrounds and want to make sure there is some contrast.


I am laying them out to check before I sew.


I know that some of them will not have a lot of contrast but I am ok with it. I like how vintage quilts have fabrics that fade in and out.


1 3/4" squares
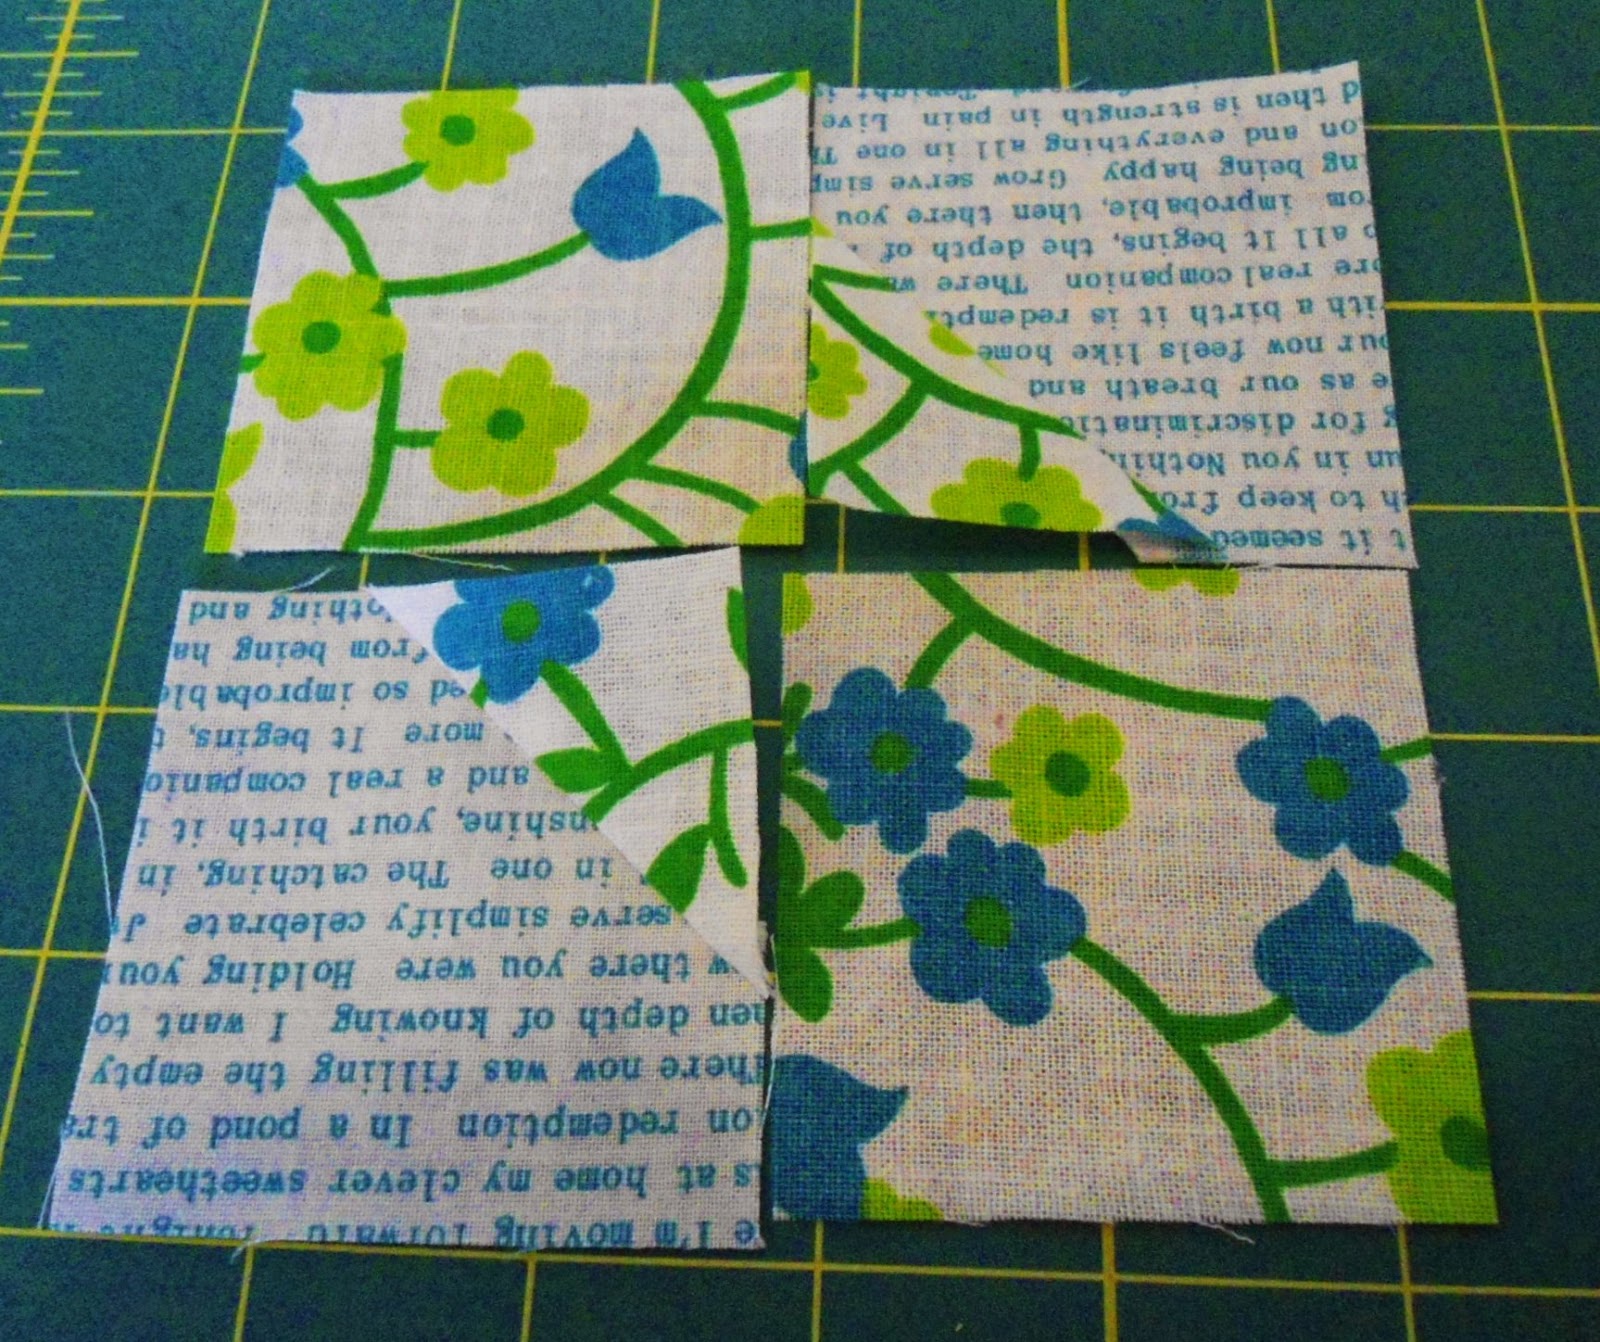
Once you are happy with your fabric selections, draw a diagonal line on the back of the 1 3/4" print squares. If you use a mechanical pencil, it makes a very accurate line.


Lay the fabric  across the edge of a 2 1/2" square.


Sew on the line. This is a good project to chain stitch. You could get a lot made in a short amount of time.


Press and check to make sure it covers the square. If not rip it out and do it again......


Once it is perfect, trim off the inside pieces, leaving a 1/4" seam allowance. If it isn't perfect you will not have a square, which will not make the block square, so take the time. You will be happy you did!


Lay out the block, sewing the top 2 together and the bottom 2 together. Again you could chain piece these.
Press the seam with the fabric going towards the print fabric. Next sew the 2 halves together.


I pressed my seam open because it made it flatter, which is my preference, and it is a small block!


There you go, 1 bowtie block only 96 more to go!


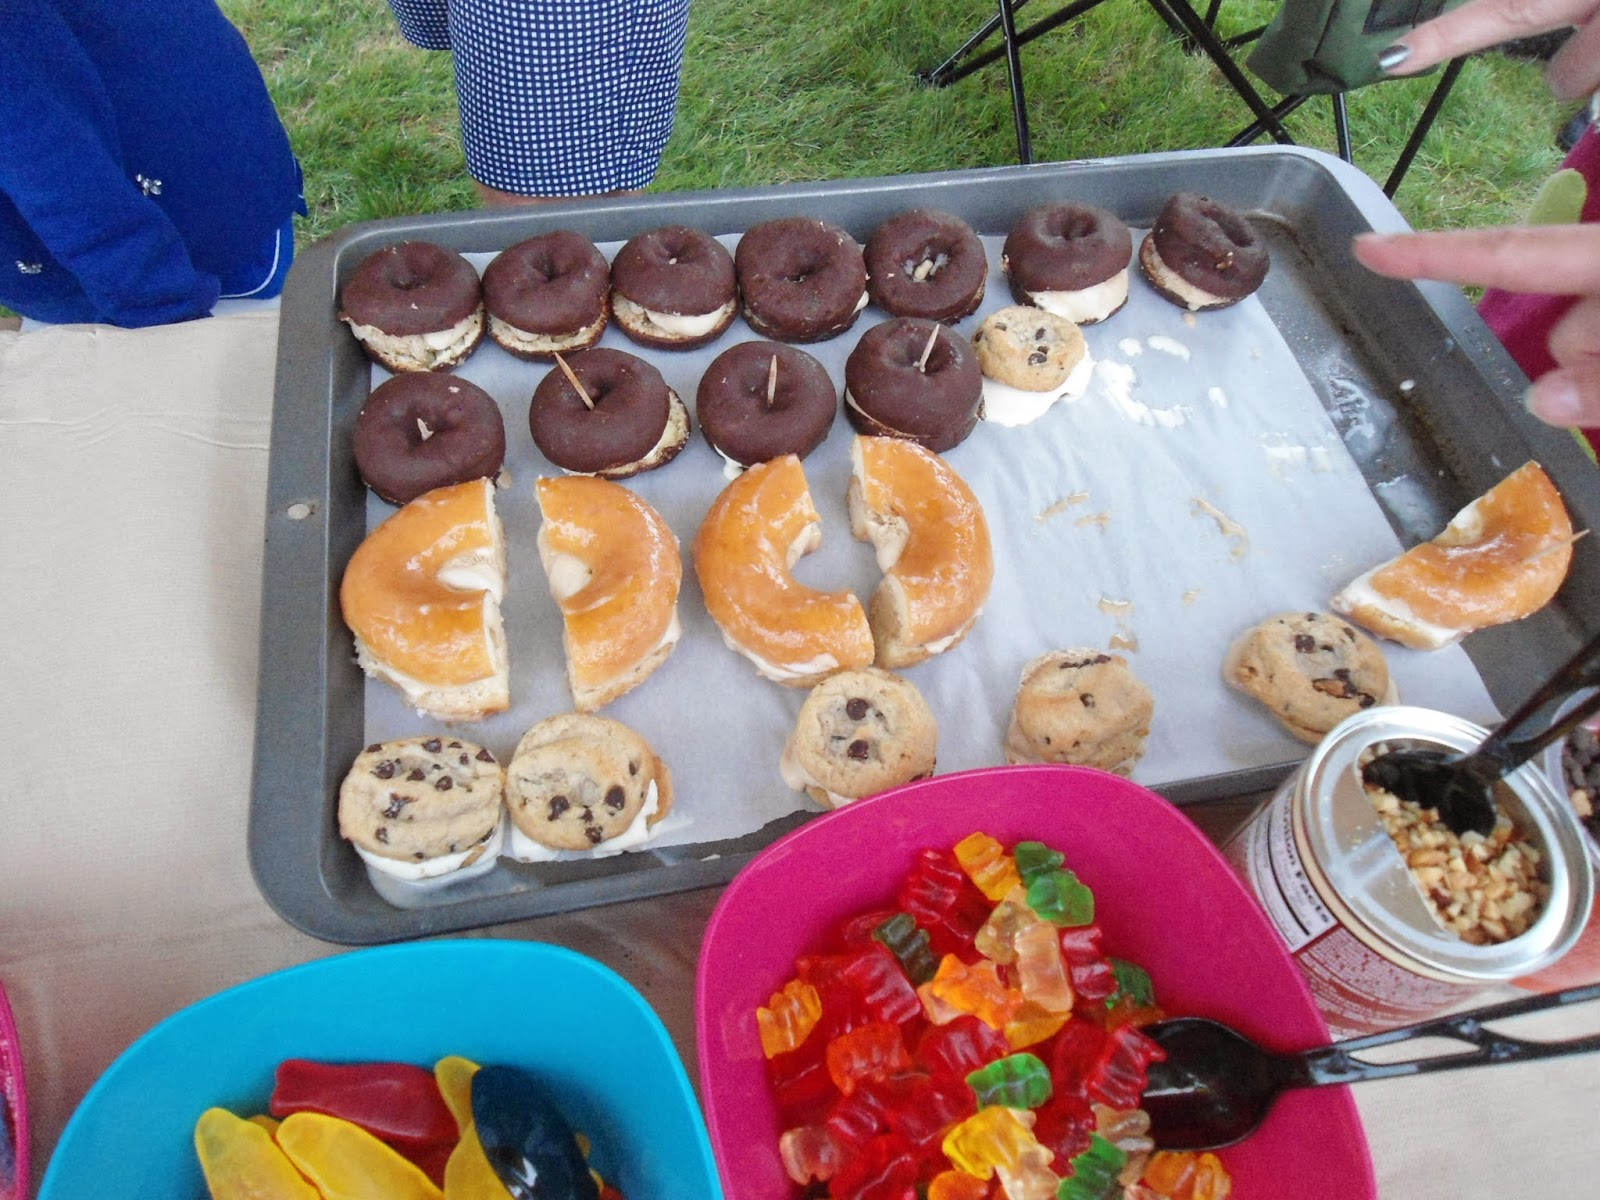
Saturday was our monthly, Meanix Family Fun Night held at my son Colin and his wife Jenny's home. It was freezing but we had a good time anyway.


Jenny always comes up with something fun. How about donuts filled with ice cream!!! The Krispy Cremes were a hit. I think there will be more of these in the future.....

Kelly