


These are the the challenge quilts from our guild meeting yesterday. Aren't they great? They will be going to veterans to hang in their homes. Lots of creativity!
While I was at guild a lot of members asked me, along with some emails to do a tutorial on my appliqued circles. So here you go.
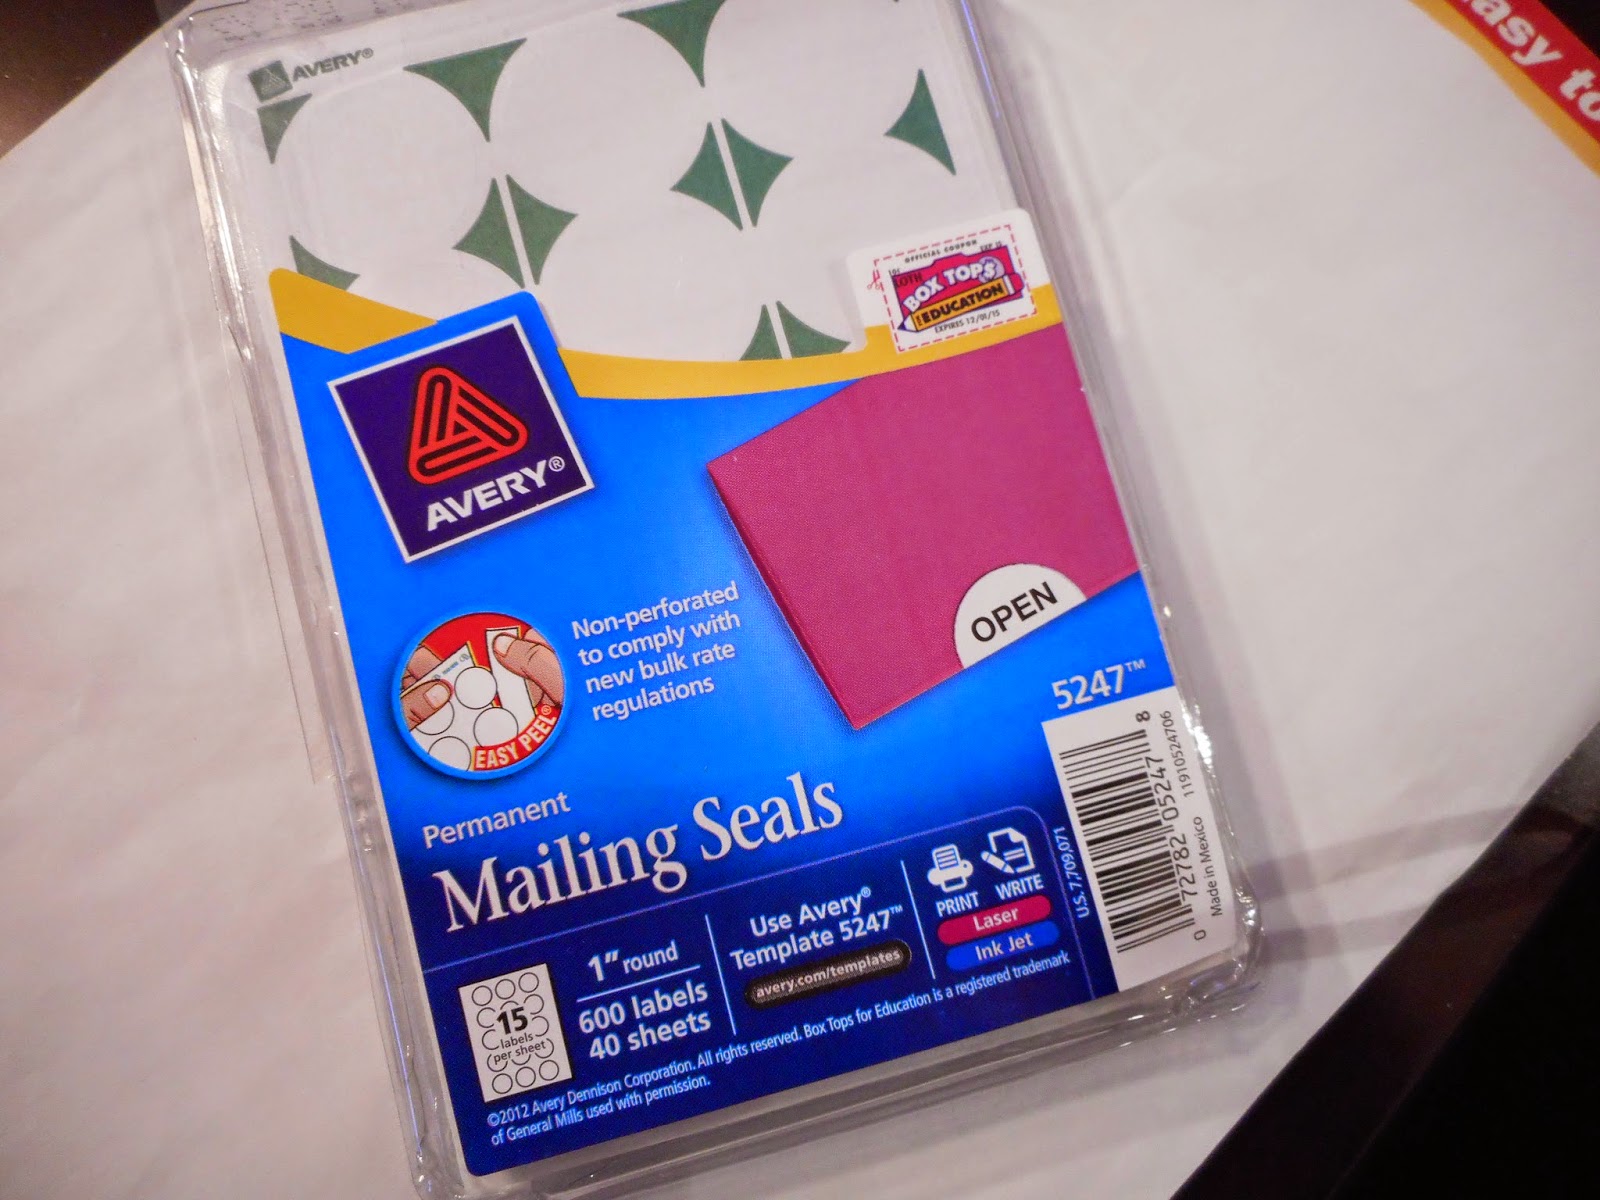
First get some office dots. They come in different sizes and I have made some using them as small as 1/4", Find a size that works for your project.

Place the dot, sticky side down on your fabric (it does not matter which side). Cut out a small seam allowance all the way around. You don't want it too big or too small. I would say less than 1/4" but larger than 1/8".

Take the dot off your fabric and place the un-sticky side down on the wrong side of the fabric. The fabric I am using is a hand dye.

This may feel awkward and you may have to try it a few times......place it on a magazine or some kind of padding so you don't ruin your table. Hold down the center with a large quilting pin and grab a toothpick.

Sorry about the pictures, my husband was helping.....Take your toothpick and start sweeping the edges onto the sticky part of the dot.

Try to keep the pleats as even as possible so you don't get any dents. If you do they are easy to fix. After you are completely finished, use your fingers to spread them out.

As you work your way around, the circle will twirl on the pin.
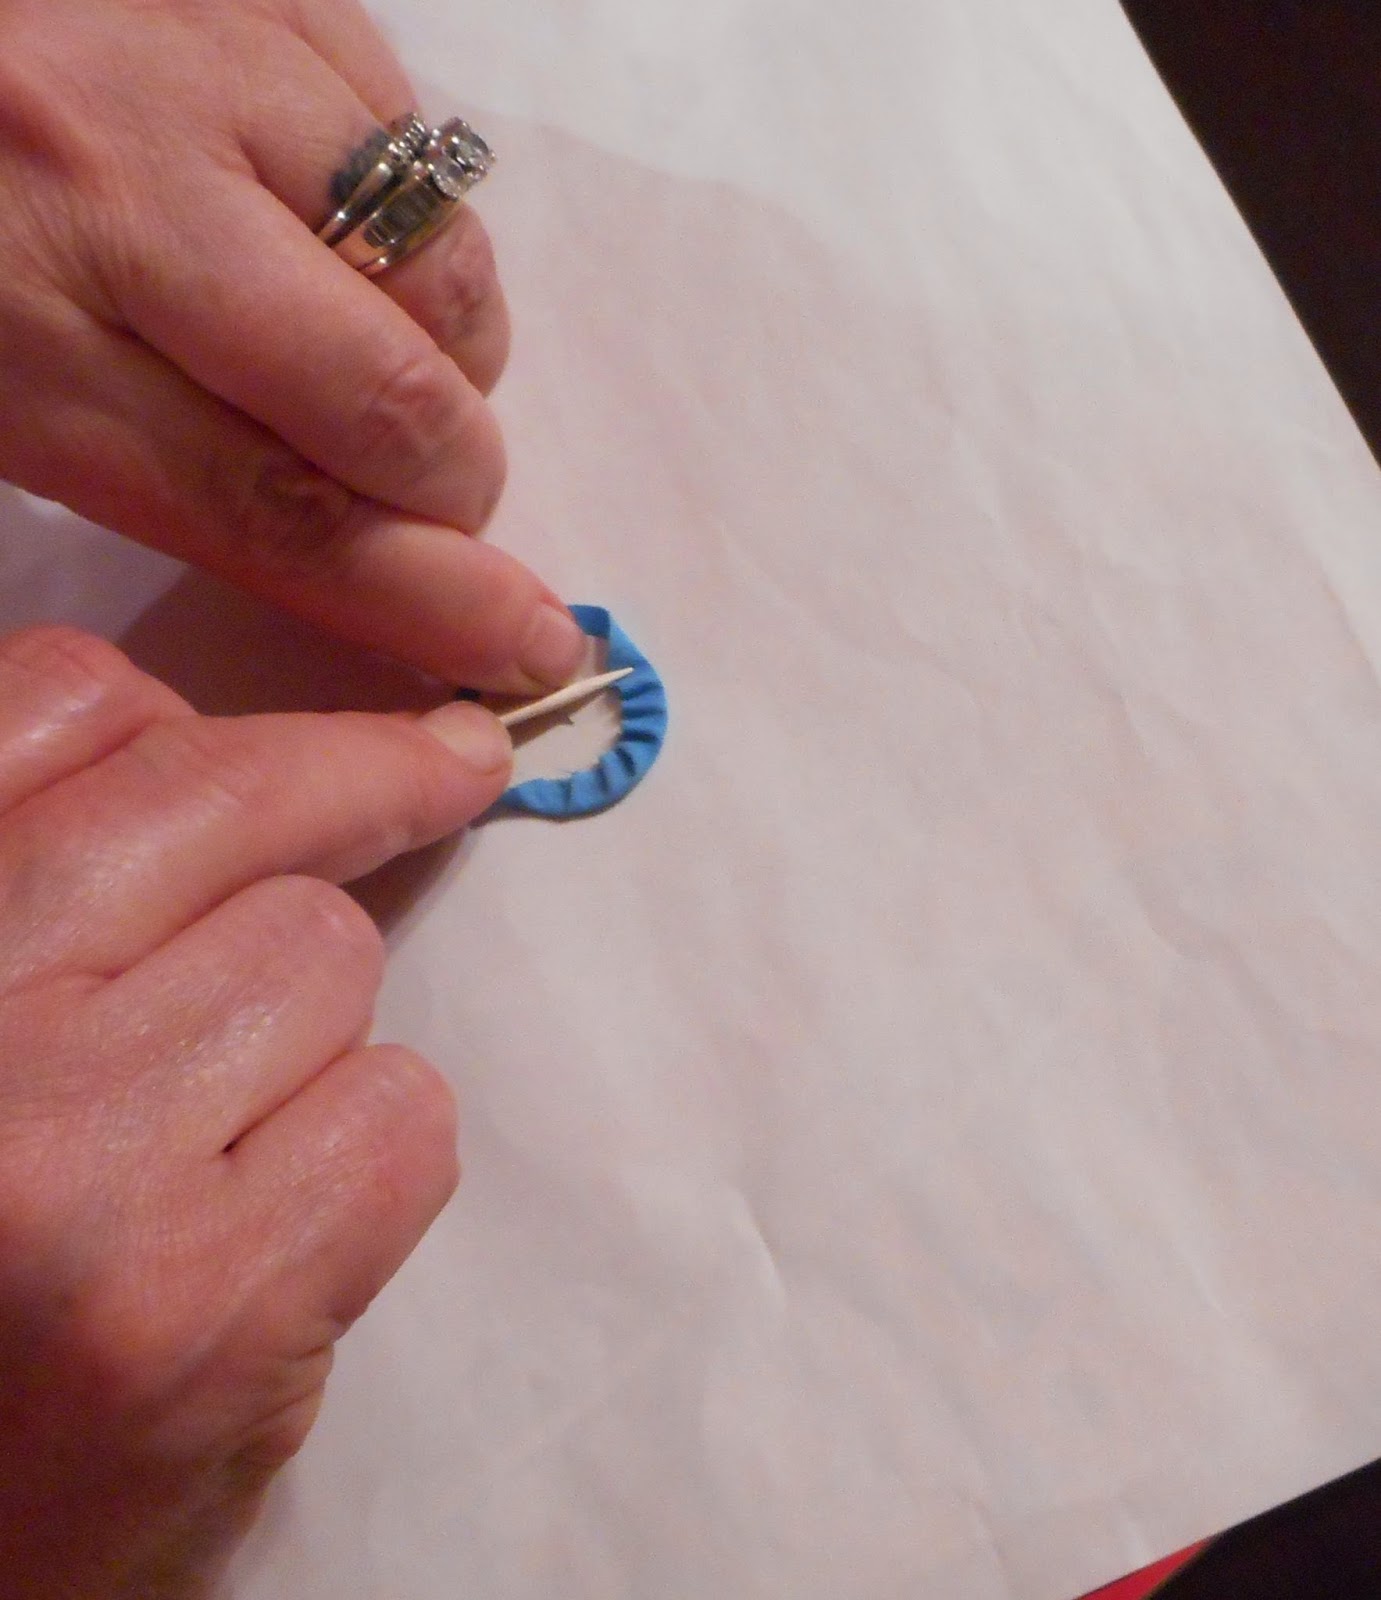
See how I have those even pleats? That will happen after you try it a few times.
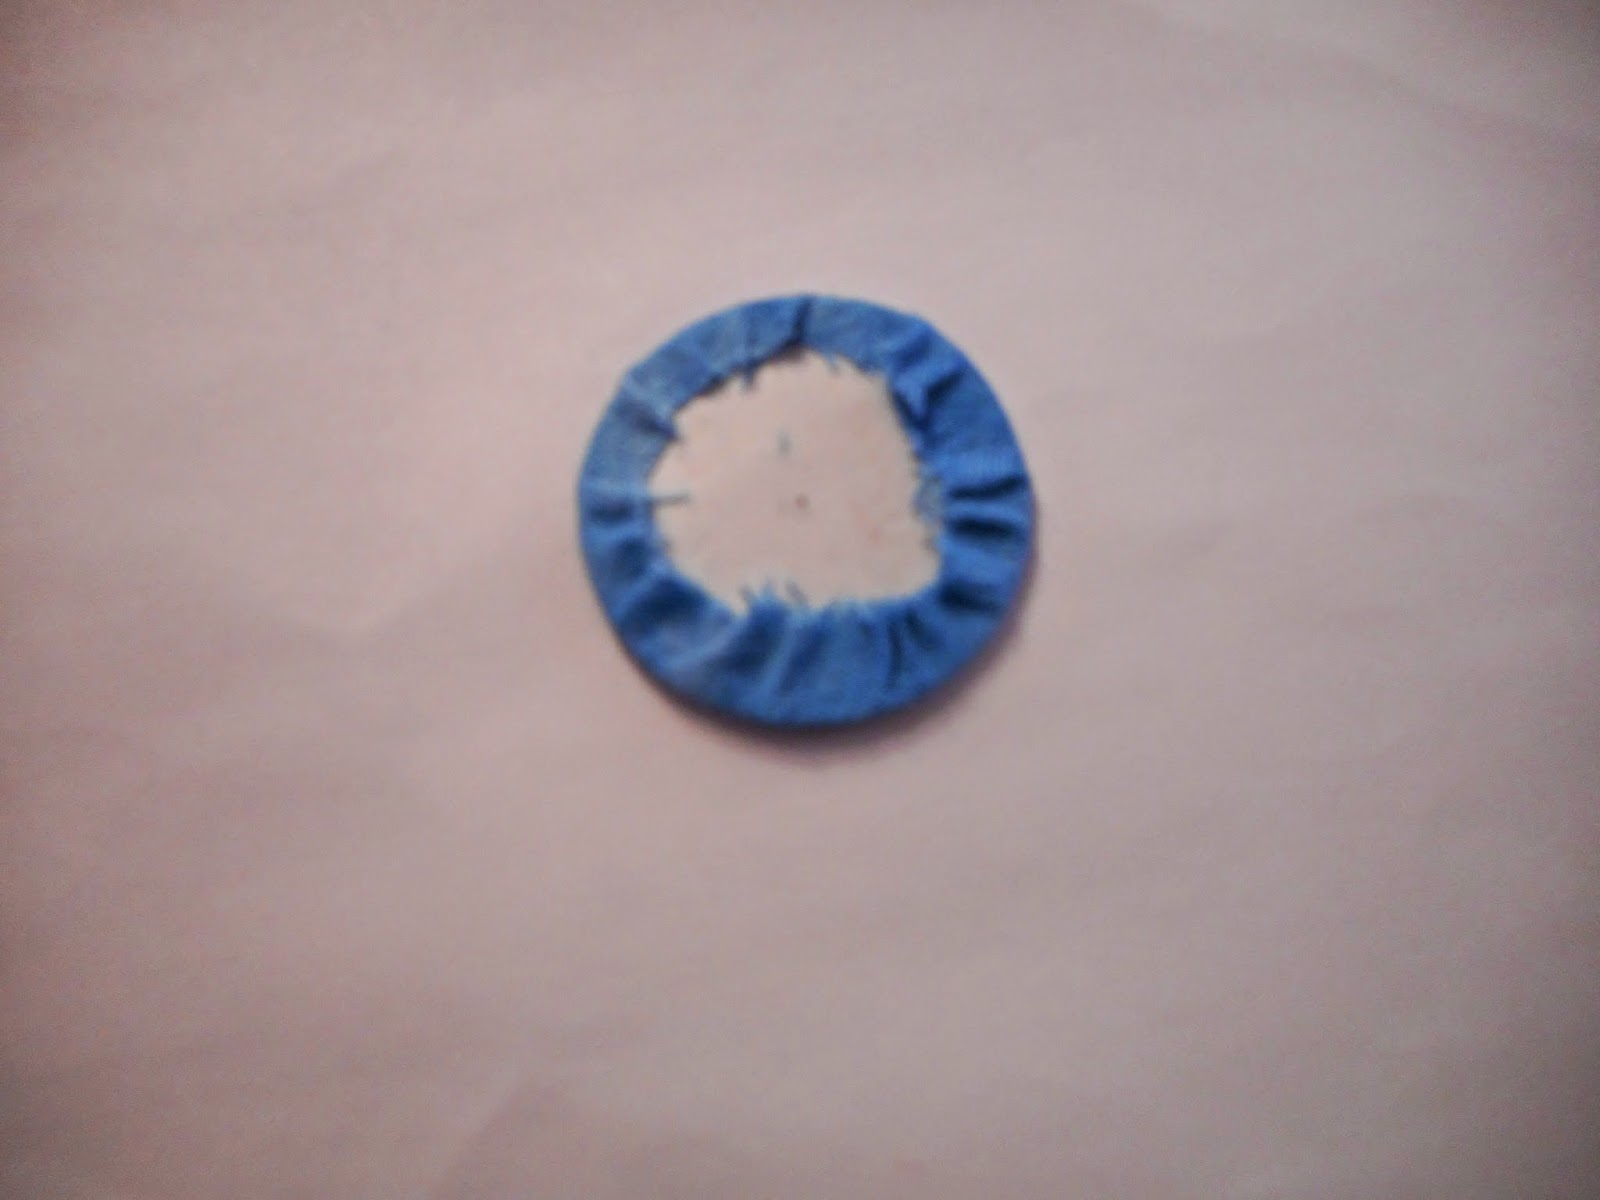
When you are finished it will looks something like this. The sticky part will not hold it indefinitely so you want to make these as you need them, not ahead of time.

Not only does it make it easy to place them but the sticky holds it down nicely so you don't need pins. Just hold your thumb on top of it. I would start stitch at the bottom by the stem.
After you stitch it down, you will want to trim the fabric from the back and take the dot out. It comes out very easy.

There you go, perfect circles!
If you have any questions be sure to leave a comment or email me.
Kelly

