
 |
| Section 1 |
 |
| Sections 1 and 2 |


Flip the quilt over and now lay one side of the batting down in the little ditch (it should completely fill the ditch, don't cut it half way) and trim it evenly so it lays flat. Now do it to the other side.

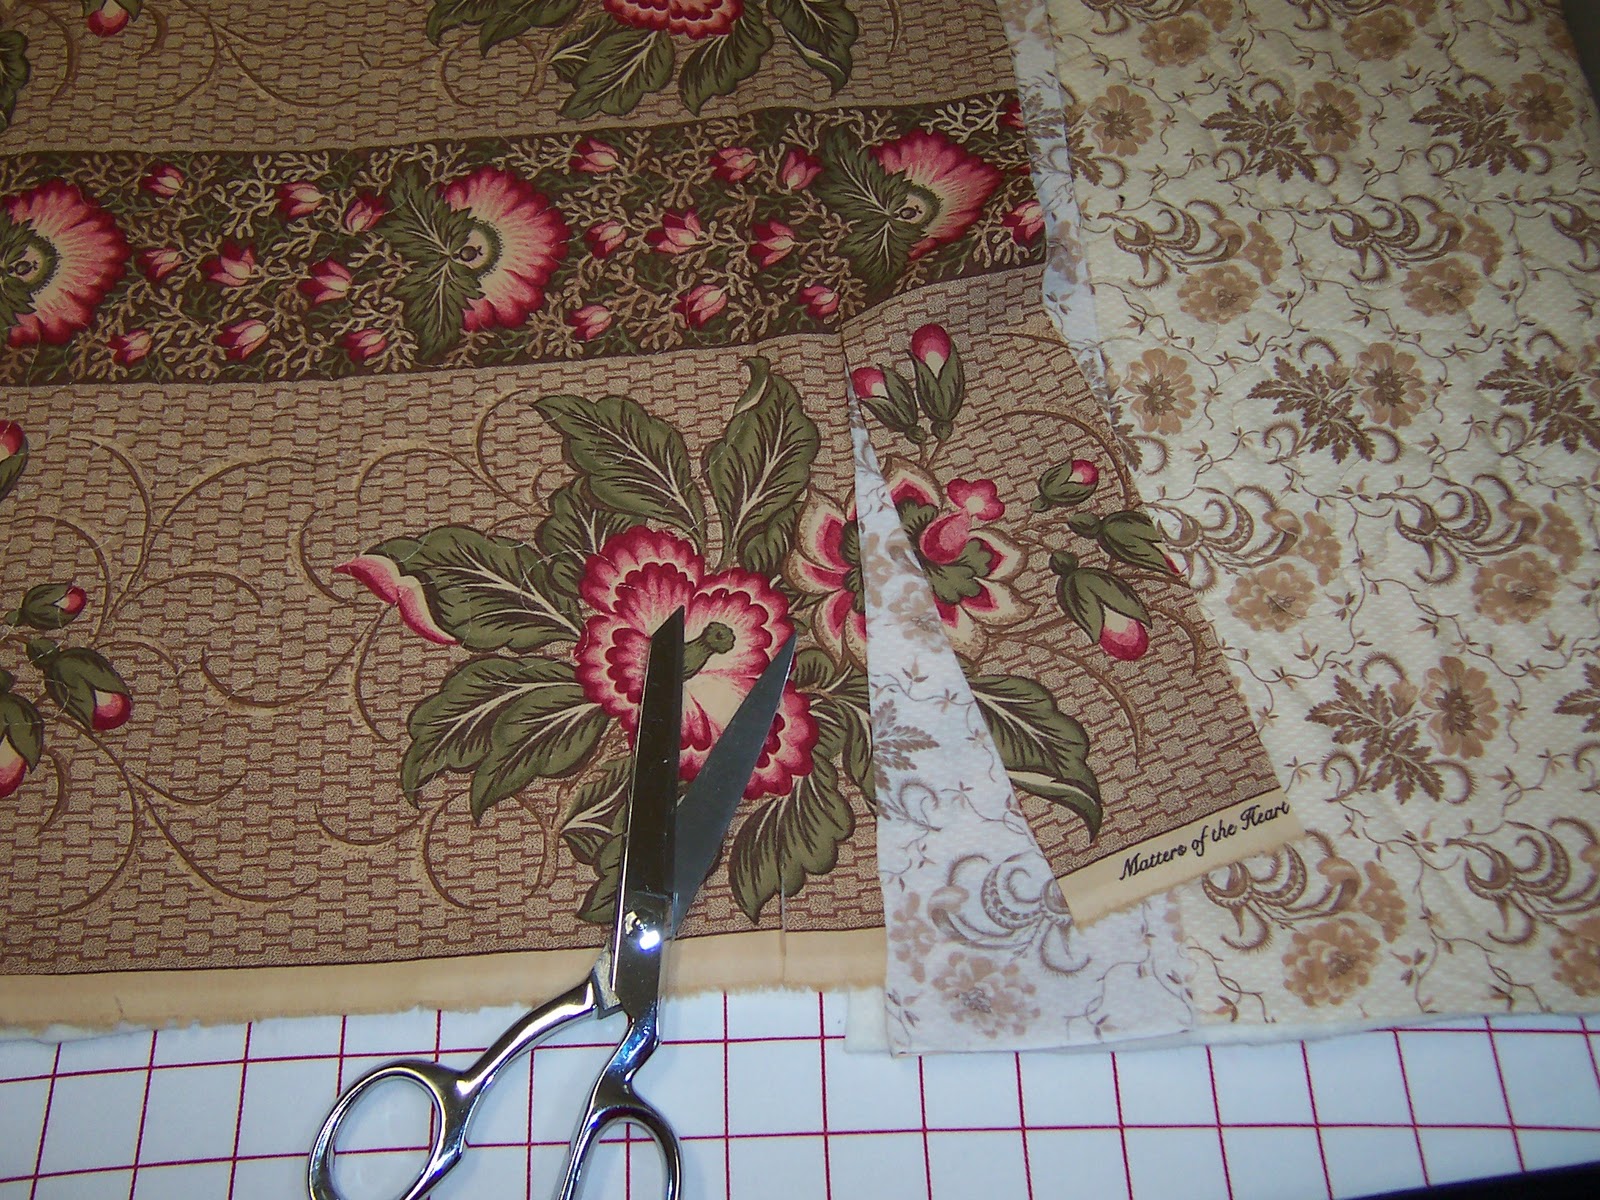
Overlap both sides of the batting and cut down the middle, be careful not to cut your top! Go slowly, this is a little hard. When you are done your batting should fit in nicely and not be lumpy. The edges should be butted up against each other.

Fold your backing back. Take one side (I chose the left side in this picture) and fold it over the batting and press. This will make a nice crease.


Sew down that edge and you are almost done. I have heard of people being able to do this by machine but that would not be me!

Not go back and quilt over that seam. Mine turned out great, very flat and no lumps or bumps.
This may not be a super quick way but it was something I could do in bits of time I had. I have wanted to try this for a long time now but was afraid to use it on a quilt I loved. This was a good experiment and one I will keep in my tool box. I am going to try and finish this up over the weekend so you can see the finished project.
If this is confusing sorry, I have never done this before. Please feel free to email me or leave a comment and I will try to help you.
Kelly
Thank you for the Quilt As You Go tutorial, it was very helpful to me! Your quilt is BEAUTIFUL!
ReplyDeleteI think the quilt is looking wonderful. Thw way you tackled this made sense to me, thanks for sharing.
ReplyDeleteKelly,
ReplyDeleteThis quilt is looking great! I have a friend who has tried this before. It is a nice way to handle take along projects and then piece them all in the end! Great tutorial!
Looks like a great method - particularly for larger quilts!
ReplyDeleteI definitely want to try a quilt as you go. Yours turned out great.
ReplyDeleteWhat a wonderful tutorial you created!! Thank you.
ReplyDeleteMaybe some day you can do the same for the wonderful "invisible binding" you sometimes use?
Love your blog!
Kelly, Great tutorial, very easy to understand. thanks for sharing that technique...joanne
ReplyDeleteOn the subject of quilt as you go. Georgia Bonesteel was the first to come with this idea and she has loads of instruction on it on her website http://www.georgiabonesteel.com/ she was the first to have a TV show about quilting in the 70s 80s.
ReplyDeleteThanks, I will need to do this for my quilts as I live in a tiny house now, and QAYG is the only way.
ReplyDeleteI think you lost me where you you have the backing and batting pinned back (do this to both sides then put two sides together and sew 1/4 inch seam?), then open up and when you lay the one side of the batting down and fill the ditch. If you lay the other side of the batting down it will be on top of the first piece that you have laid down. Is that right??
ReplyDeleteThen you cut up the middle of both pieces of batting?