

Wow! What a great response to my post yesterday! It sounds like a lot of you are looking for a fun and easy project. The first thing I need to do is correct the block size. I thought it was a 6" finished block. It is a 5" finished block. So the 4 blocks will make a 10" finished block.
This is a good project for those of you who have never tried paper piecing. I think it just might be the easiest block ever! PLEASE READ ALL THE DIRECTIONS FIRST!
The first thing is to print out the blocks and trim away the excess paper. It will just be in your way. Sorry the pictures are not too good, it is a rainy day here today.
Go to the prior post to read more about this quilt.
****Edit to original post**** You can only get the pattern by emailing me at kellymx@aol.com If you have left a comment and did not receive the pattern it is because it did not include your email. Email me directly to get it.

For each block you will need 4 pattern pieces.

Find yourself a book mark or another stiff piece of thin cardboard.

Use it to fold over the edges of the lines in the center of the pattern.

This will help you line up the fabric. It should look like this.

Cut out the outside fabrics 4" x 9" You could fussy cut or do anything you want. Once you make a few you will see what I mean.

Cut the center fabric 3 1/2" x 9". Be sure your fabrics are flat. Iron them if needed you will get better results. I never sew with wrinkled fabric, I am more likely to make a mistake.

Lay your center fabric right side down on your cutting mat.

Place you pattern with the lines showing on top making sure it is in the center of the strip.

Go ahead and pin so it does not move around. make sure the pins are out of the way of your sewing machine foot. Notice how the blue pin is off to the left.

Next you will fold the paper back for the first side as shown above.

Take you rotary cutter and trim off the excess fabric about a 1/4" away from the edge. You do not need a ruler to do this, just eyeball it. If it is a little bigger that is okay.

Place your side fabric right side up. Notice I said right side up!

Place the pinned paper pattern on top. Think of this just like you would sew as normal, right sides are together with a paper on top. Keep the edges even, there is no need to pin.
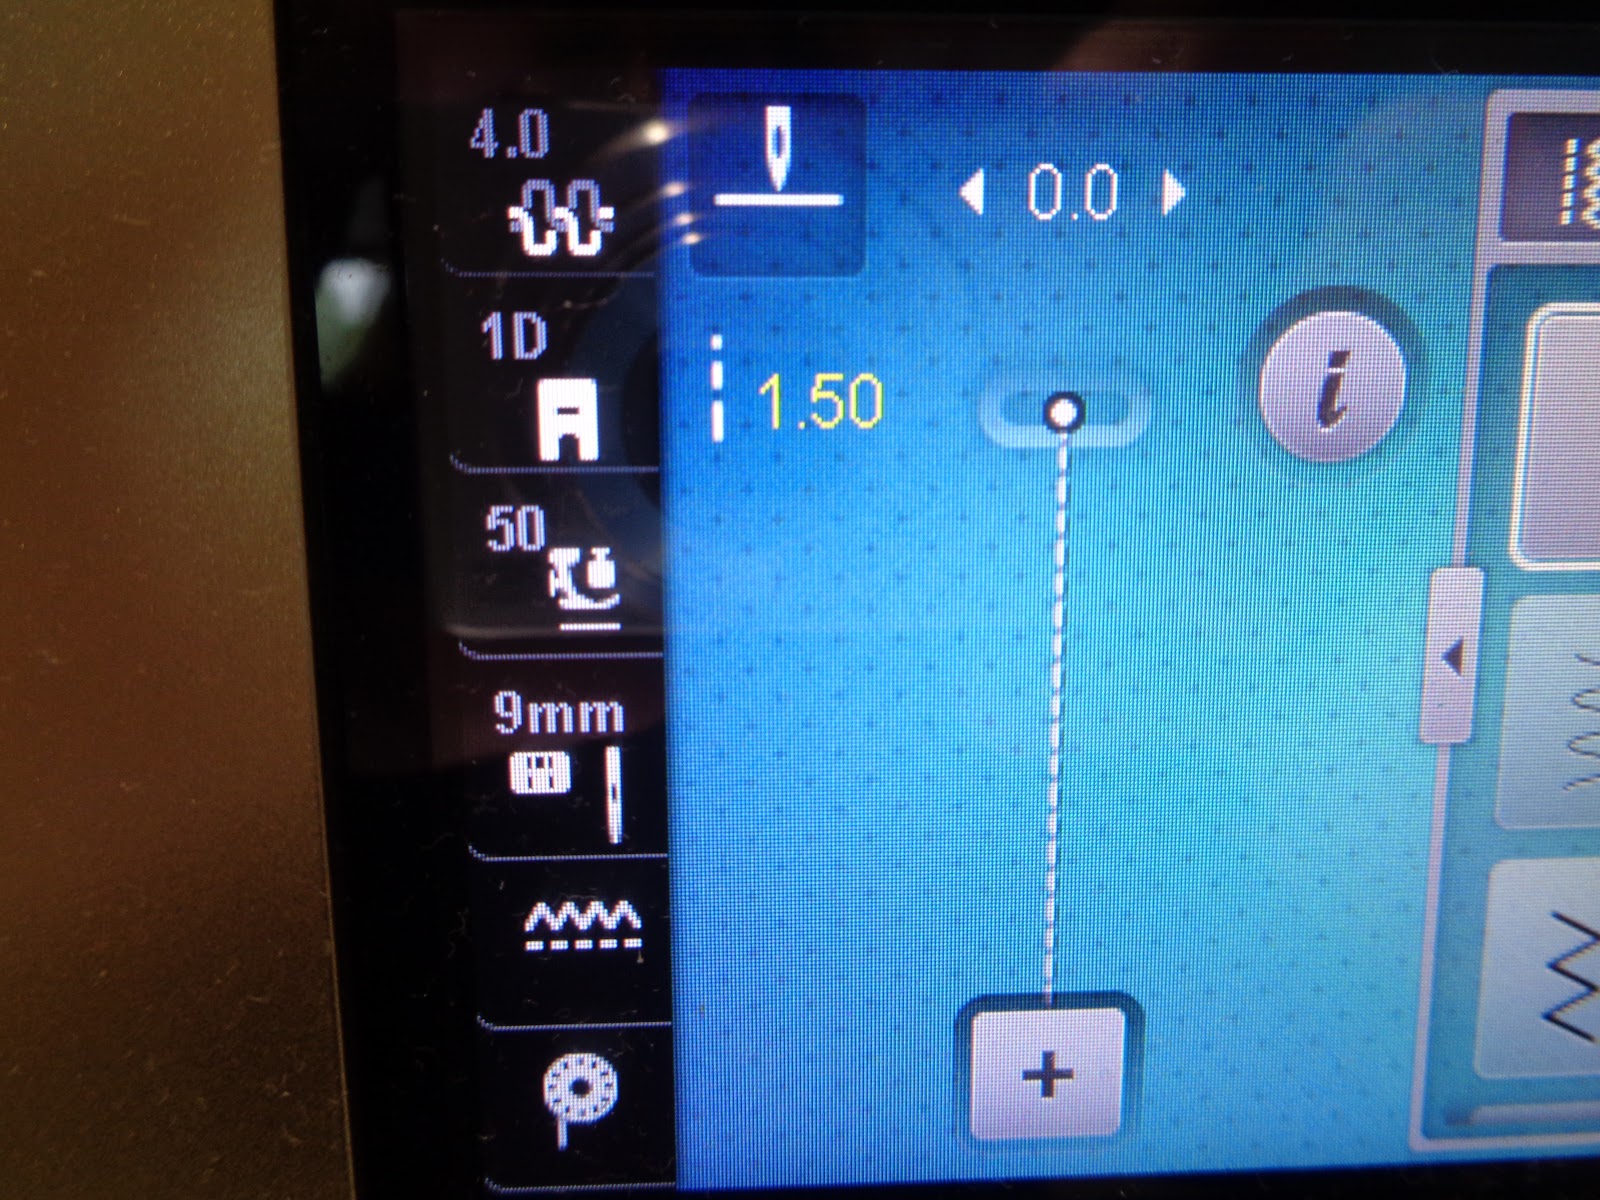
Shorten you stitch length. On my Bernina it is 1.50.

Make sure the edges are even. Start sewing from the edge of the paper, right on the line. See above.

Finish sewing the same way, past both lines.

It should look like this.

Turn it over and make sure all the paper it covered and the right sides of both fabrics are showing. Press well.

Flip it over to do the other side. We will do it exactly the same way we did the first side.

Fold back the paper and trim the excess fabric.

The side fabric on the bottom is right sides up and place the edges together.

I will look like this. Remember your fabrics are right sides together with the paper on top. Sew as above.

Once all the fabrics are sewn it will look like this on the back......all the paper is covered.....

and like this on the front. Press it well.

To trim up the block you place your ruler's 1/4" mark on the solid line and cut on the dotted line.. It is more important that your ruler is on the solid line than to have the edge line up with the dotted line.


Trim it up, and do the other three sides.

It should look like this. If you cut off those solid lines you will have a block that is too small.

Carefully tear off the paper. I put my finger on the seam and gently pull. They come off pretty easy.

Do one side, then the other side. The center comes off last.

Your block should look like this! Now wasn't that easy?

To make one block you will need 4 sections. Or maybe you want to come up with your own idea? These are not sewn yet because I am not sure if they will be a block.


This is a messy process. Make the mess to get the quilt you want. I am so happy with where this is going and am anxious to finish it up.
Please be sure to send me pictures if you make a quilt using this pattern!
Kelly


