Friday, December 31, 2021

Robbing Peter to Pay Paul tutorial


I'm ending the year in the pink! This will be a baby quilt that I hope to finish it this weekend. Sorry the pictures are so dark, it is a gloomy day here.


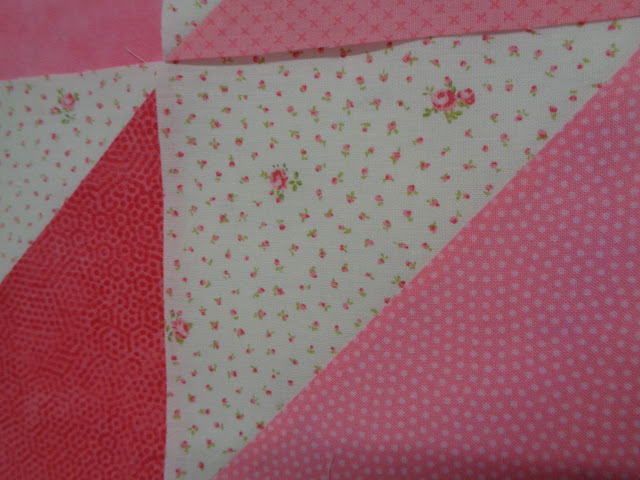
I love this background print that is from a collection called Grace from MODA and the designer is Benda Riddle. I thought it was so sweet and very girly. I got it at the Old Country Store in Intercourse PA.


To continue with my pink theme I am doing some school house blocks. This is a pattern I have always wanted to do. It is in the latest issue of American Patchwork & Quilting, they have a paper piece pattern to make these. If you look at the one in the top right, you can see a mistake......sometimes that happens!


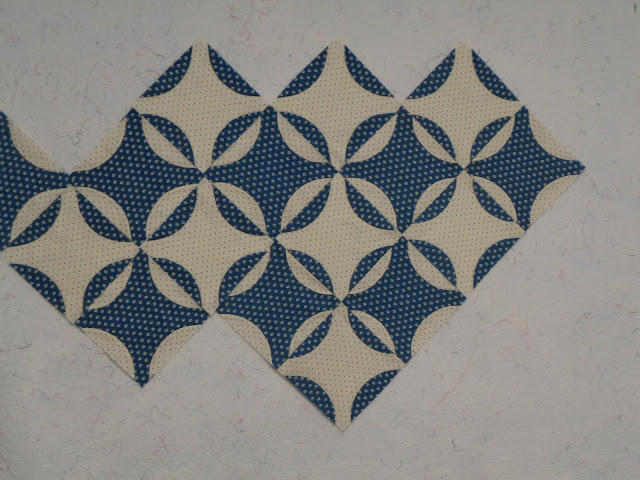
So this is the pattern, Robbing Peter to Pay Paul. This is the pattern on point. I am seriously thinking of going this route. Do you see the blue as the main background color or do you see the white?


This is a straight set, a nice pattern and I may make another to use this setting.


This is 4 blocks sewn together in the straight set. You will need to make 2 in the opposite color way. 


Same blocks turned on an angle or on point. If you make this setting, you will need to make half blocks to fill in. I will show you those once I get to that point.


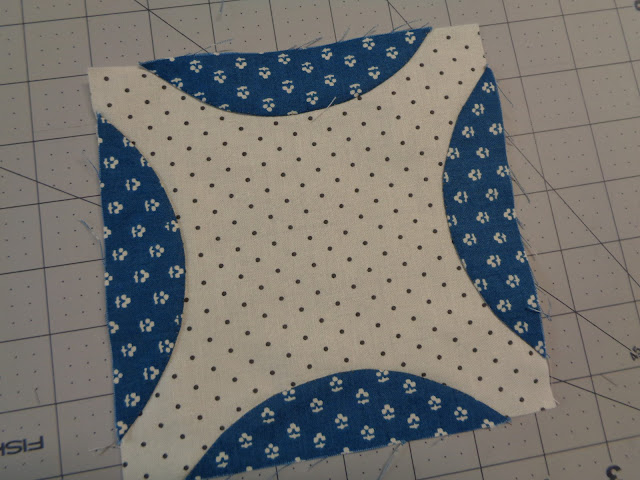
To make this block you can look for a pattern or you can make your own, which is what I did. My backgrounds (the white in this block) were cut into  6 1/2" squares. For the slices (the blue fabric) mine are 4 3/4" long and at the middle they measure 1 1/8" high. Play around on paper until you get something you like or buy a pattern.


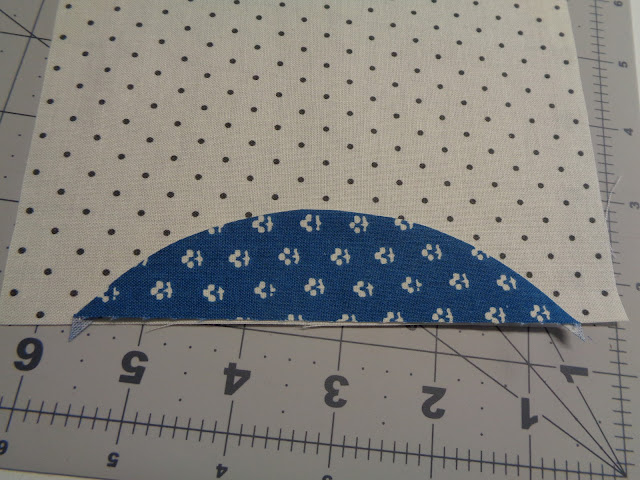
So I decided to do an easy applique technique. I made a template of the "slice" piece and traced it on some interfacing.


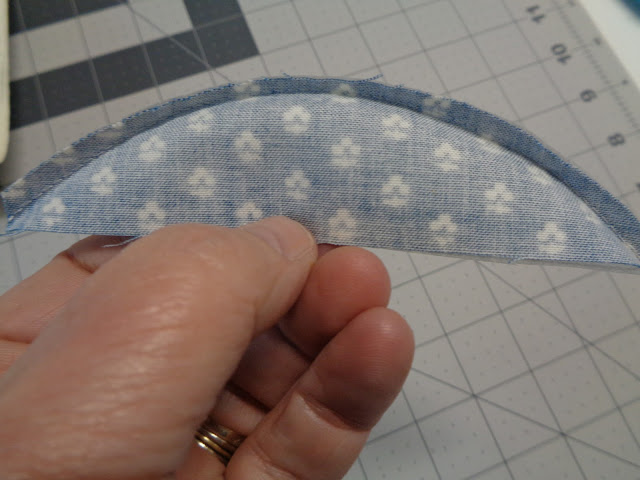
Next I cut out my fabric a smidge larger than the interfacing and sewed them, right sides together. Don't forget you need some that are blue and some that are white. Trim the excess fabric. This is a very gentle curve and easy to sew.
 

It will look like this. Remember to add a seam allowance at the bottom. Notice I only sewed the curve.


Carefully turn, using a turning tool if necessary to smooth the curve. Be careful not to poke through the interfacing. I run my tool on the fabric edge.


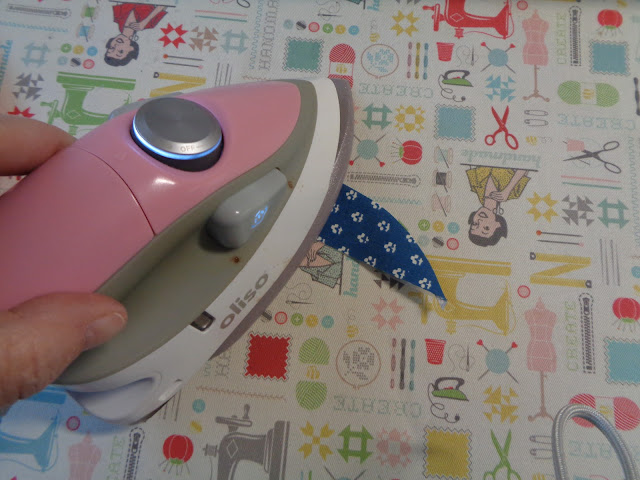
Press until it is flat.

You will need 4 for each block. Center it along the edge with raw edges together. I put 2 tiny dots of glue on the interfacing, to hold it in place. I plan on taking these to my bee, so I don't want to worry about them moving.


I also trimmed the seam allowance pretty thin to reduce bulk.


Take the time to make that curved edge nice and smooth so you get a nice edge on your piece. Remember this is your "finished" piece. It will only look as good as you sew it. If you go off the curve and there is a dent, re-do it or it will drive you crazy! It will also throw off the pattern.


Applique as desired along the curved edge, I am doing mine by hand but you could absolutely do it by machine. Once the block is done, I cut away both the interfacing and the background fabric to reduce bulk. It made for a nice flat block. I recommend leaving a 1/4" seam allowance.


This is the interfacing I used and I love it! It is not too thin, so it tears easily and it is not too thick that it is bulky. As Goldilocks would say it was just right!
This technique made these blocks go so fast because the edge is already turned under. I hope you will give this a try and if you do, let me know!


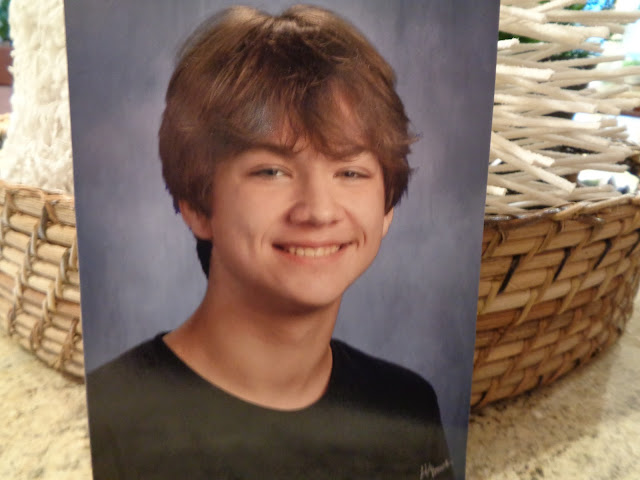
Today is a special day for our family. My oldest grandson, Griffin turns 17! He is such a good kid and all the little kids in the family just love him. He also very tall, 6 feet 6" and counting! He is our gentle giant and a joy to be around. I am excited to see what the world will hold for him in the future. He has one of those personalities that gets along with everyone. Happy birthday Griff!

This is for Quayquilter. I got your response to my post but could not answer. 

The quilt is called Friendship Circle: A Sampler Quilt. In case you couldn't tell the blocks finish at (I think) 5". So some of the pieces are small but I didn't find them too hard. I bought this as a kit at a quilt show so the fabrics were included. If you go to her web site I think she has kits for some of her patterns. Have fun and thanks for stopping by!

I wish you all a very Happy New Year and let's hope it is better than the past 2 years, we all need a break!

Kelly


Wednesday, December 22, 2021

Merry Christmas


Wishing you all a Merry Christmas! It tool forever to get this picture and still Pippy turned her head exactly 2 seconds before it went off! She is always holding her little brother's hand!


It was interesting to hear everyone's thoughts on how I should set this. I need to make a decision because if I go on point I have to make triangle blocks to fill in around the edges.
I will do a tutorial after the holidays on how I am appliqueing these together. You will not believe how easy it is!

Carol from Texas, your comment made my day! I am so happy to inspire you, I could not reply by email because it comes up as a no-reply comment. If anyone does not get a return email from me that is why. 

The end of this year has been a roller coaster of emotions for myself and my siblings. I wish you all a Happy New Year!

Kelly


Thursday, December 16, 2021

December Post


I know it has been a long time since I posted. All I can say is life is busy! I am so irritated with Blogger, it loaded all my pictures backwards but I am just going with it.

I am participating in a doll quilt swap on Instagram for 2022. Since I took these pictures the center applique is complete and almost all put together. I am actually thinking of HAND QUILTING it!!! We'll see.. I wanted to get a jump on it because you know, life gets busy.


If you like to give books as gifts, I totally recommend this one. I love her ideas and her simple yet elegant ways. Check it out you will not be disappointed.


I have gotten away from applique but have found my way back. I need handworks for when I am at my bee. I bought this pattern from Lori Smith, ages ago and have decided to try and get one done every month.


This would be a nice gift for a quilter or an appliquer. It lays around your neck and has 2 lights on the end. The nice part is there are 3 different strengths of light, I love it!


I love everything about Lori Holt. She is a genius at marketing and these bags are so cute and quick to make. I have already made one and will hopefully show it sooner rather than later. It's a panel with 8 bags to make and her zippers look amazing but won't be available until next spring.


I took a class this past fall and this was the block I made. I don't love my color choices so I made it into a pillow that will be donated to the local Veteran's Hospital through my guild. So glad to not have a UFO!


This is another installment of my Anna's Baskets by Laundry Basket Quilts. So far I have kept up! I love her instructions and think I am a better piecer because of it! The fabrics are beautiful too.


I have not made a lot of presents this year. This is the Trixie Zipper Pouch by Minki Kim that is so much fun to make and easy. It looks so good when you get it finished too. My neighbor is a new sewer and we always exchange gifts, so I made this for her.


These were just too cute to not make! I also discovered The Fat Quarter Shop weekly YouTube videos that are so good! Every quilter will learn something new and they always show the newest fabrics and gadgets.


Which way do you like this straight .........

or on point? My friend Jen has an antique quilt in this pattern and I fell in love with it! I drafted my own pattern so I could have my own.


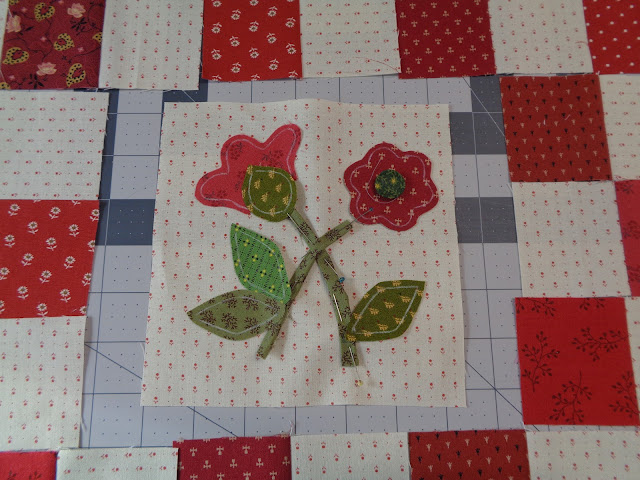
The colors are pretty similar to these. Mine is appliqued, not pieced and I figured out an easy way to do it. If you want to see how I am doing it, let me know I will do a tutorial.


Let me know which orientation you like, I am torn!


I found this vintage towel with my last name initial on it. I just love it and think it fits in with my Christmas decor.


How cute is this? The pattern is by Arabesque Scissors. Not hard to make but it's small so beware.


I t makes my December sewing all that much more fun. I love to sew seasonal thing in season, don't you?


I found this gorgeous vintage quilt and love how it is going with my theme this year of simplicity, red and white.


Seriously this is about all the decorations I have up. I love adding real greenery to the fake.


This was a kit that I finished last year, except for the binding!!!! So the binding is done for the grandchildren to enjoy this year. Thank you Carolyn and Jamie for the excellent quilting!


My simple kitchen table display.


This was a quilt that I made in 1980! It was for my parents 25th wedding anniversary. It is also hand quilted! Who am I? It's pretty rough and the binding was taking the backing and bringing it around to the front! I had only been quilting for 4 years and the supplies were very limited. I am pretty sure every fabric is polyester!


The reason this quilt came back to me is that my mom passed away October 30th. This is her passport picture from 1976. I think she would like this one.

Kelly